Using a Yubikey with GitHub for signing your commits
Introduction
I’ve been using Git and GitHub for quite some time now, but I wanted to added an extra layer of security. By default, anyone could impersonate me by comitting to my public repositories (or other repositories) by configuring the same User name and Email address in their local git config. While I don’t expect anyone to do this, you should always be prepared for the worst. Besides that, I really like to see the verified badge for all my commits. :blush:
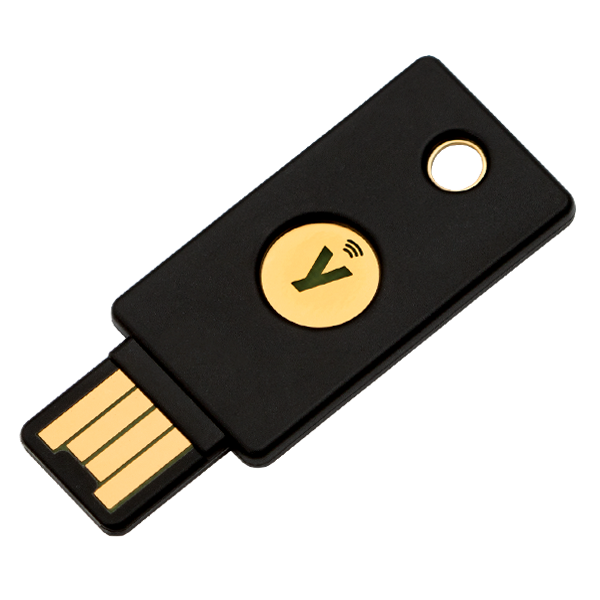
Yubikey
To do this I wanted to use my Yubikey as a hardware token instead of software based keys. If you don’t know what a Yubikey is, it’s a physical security key that you can use as a second factor for authentication and has multi-protocol support for FIDO2, U2F, Smart card, OTP and OpenPGP 3.
Also, I wanted to remove my real Email address from GitHub and use a no-reply Email address. This is an unique Email alias that GitHub generates and redirects to your Email address.
I have two Yubikey 5 NFC keys for which I have one always with me on my keyring and a spare one at home in a safe place (like your house and car, you should always have a spare key)
Requirements
In order to set this all up, you will need the following:
- One or two compatible Yubikeys with OpenPGP enabled
- Windows 10 or Windows 11 as operating system.
- A GitHub account
- Windows Git client installed and configured with your Git username and Email address
- The Yubikey manager application installed
- The Gpg4Win application installed and configured
- (optional) Git credential manager for Windows installed
- (optional) A password manager to store your pincodes for Yubikey and public keys
Steps
1 (optional) Configure GitHub no reply address
To generate a no-reply Email address in GitHub and make your real Email address private, do the following
- Go to your Settings in GitHub
- Under Emails make sure you have a primary Email address that’s verified
- Select the check box Keep my email addresses private. This will generate a no reply Email address.
- Make a note of the no reply Email address and continue to the next step
2 Install gpg4win
Install Gpg4Win by using one of these options:
- WinGet
- Chocolatey
- Downloading from gpg4win.org
3 Configure gpg4win
After installing, your PATH environment variable should be updated so you should be able to run gpg
If this works, you should see something like this
gpg: WARNING: no command supplied.  Trying to guess what you mean ...
gpg: Go ahead and type your message ...
4 Prepare Yubikey
Install Yubikey Manager using one of these options:
- WinGet
- Chocolatey
- Download it here: Yubikey Manager | Yubico.com
Insert your Yubikey
Open YubiKey Manager as an administrator, verify that your YubiKey has the relevant application enabled under Interfaces. For YubiKey NEOs, and YubiKeys from the 4 Series, this will be CCID, For 5 Series YubiKeys, OpenPGP will be listed separately.
Enter the following in your shell
gpg --card-status
You should see something like this:
Reader ...........: Yubico YubiKey OTP FIDO CCID 0
Application ID ...: *********************************
Application type .: OpenPGP
Version ..........: 3.4
Manufacturer .....: Yubico
Serial number ....: ********
Name of cardholder: [not set]
Language prefs ...: [not set]
Salutation .......:
URL of public key : [not set]
Login data .......: [not set]
Signature PIN ....: not forced
Key attributes ...: rsa2048 rsa2048 rsa2048
Max. PIN lengths .: 127 127 127
PIN retry counter : 3 0 3
Signature counter : 0
KDF setting ......: off
UIF setting ......: Sign=off Decrypt=off Auth=off
Signature key ....: [none]
Encryption key....: [none]
Authentication key: [none]
General key info..: [none]
As you can see, there is no signature key, encryption key and authentication key configured yet. We’re going to change that now.
With your Yubikey still inserted, enter the following:
gpg --card-edit
You should see your prompt change to gpg/card>, which means that you can now start working with your Yubikey.
- In the
gpg/card>prompt, enteradminto be able to make changes:
gpg/card> admin
Once you’re in, make sure to change the PINs for the key, if you haven’t done this before. By default, those are 123456 for the standard PIN, and 12345678 for the admin PIN (PUK). You can verify these with the official documentation. To change the PINs, use the following command (and then follow on-screen instructions):
gpg/card> passwd
Make sure to remember these passwords or store them in a password manager. Once you’re finished with changing both the PIN and Admin PIN, go back to the gpg/card> prompt by using ‘Q’ to quit the password menu.
We will now generate a private key that we will use for signing using the generate command:
generate
This will start a wizard with some questions, for which you should provided the following:
- Make off-card backup of encryption key? I choose now, as I don’t want to comprimise security by storing this outside of the key.
- Unlock the card by entering your PIN (not the admin PIN)
- Please specify how long the key should be valid. I’ve kept it at
0 = Key does not expire. Confirm your choice - Real name: Your name (as used on GitHub).
- Email address. I’ve used the GitHub-provided “no reply” email address here as described in step 1. I am making sure that I keep my real email private in commits, so it makes sense for it to match in the generate keypair.
- Comment. Include whatever short remark you need about the keypair. I’ve added an identifier for my Yubikey, as I am using two Yubikeys.
- Verify everything looks okay and enter
O - Enter the Admin PIN of the Yubikey to start generating the key. This will take a short while.
After that you should see something like this:
gpg: revocation certificate stored as 'C:\\Users\\username\\AppData\\Roaming\\gnupg\\openpgp-revocs.d\\***************************.rev'
public and secret key created and signed.
Exit the gpg/card> prompt by typing q
This will list your key ID’s, but we will list all settings on the Yubikey using the command below:
gpg --card-status
You should see configured values for the Signature key,, Encryption Key and Authentication key. Your key ID can be found at ‘General key info, and will look something like this:
General key info..: pub rsa2048/**************** 2022-11-29 Marco Janse (YubiKey<keyname> signing key)
The part after rsa2048/ is your key ID. Make a note of that key ID as we will need that later.
5 Export Public key
Now that we have generated the key, we will export the public key and at it to GitHub to be able to use commit siging verification.
With the yubikey still installed enter the following command:
gpg --armor <key ID>
This will display the public key in the shell. You can copy this to a file or directly into GitHub in the next step.
Tip: to add something to the clipboard using PowerShell:
gpg --armor <key ID> | clip
6 Add the Public key to GitHub
- Go back to your GitHub account and go to Settings -
SSH and GPG keys - Click
New GPG keyand give your key a desciptive name. I called itYubikey-1 - Paste the Public Key and click
Add GPG key - Still in SSH and GPG keys, enable the checkbox
Flag unsigned commits as unverified- This will include any commit attributed to your account but not signed with your GPG or S/MIME key.
- Note that this will include your existing unsigned commits.
7 Configure Git client
From your shell configure git with the key using the following commands
To set the User name (if not already done so):
git config --global user.name <user name>
To set the Email address:
git config --global user.email <userID>+<UserName>@users.noreply.github.com
To set your signing key:
git config --global user.signingkey "<KEY_ID"
To force signing of commits:
git config --global commit.gpgsign true
To set the GPG program (for Windows):
git config --global gpg.program "c:/Program Files (x86)/GnuPG/bin/gpg.exe"
8 Test your commit signing
Now that everything has been configured, it’s time to start testing. Commit something in Git while you have your Yubikey connected and you should get a prompt for your PIN, Once you’ve entered your PIN, your commit should get signed with your GPG signing key.
From then on, as long as the YubiKey is plugged in, all commits will be signed. Take the YubiKey out, and commits will start failing.
9 Make a back-up of your gnupg folder
Make a back-up of your %APPDATA%\gnupg folder. (For me, this redirects to C:\Users\<username>\AppData\Roaming\gnupg) This folder holds some important files:
\openpgp-revocs.d- This folder holds al revocation certificates
private-keys-v1.d- This usually contains the actual private keys, but in this keys, it contains the stubs with references to the private keys.
pubring.kbx- The public keyring
These files should be backed up and can be used to overwrite the %APPDATA%\gnupg folder on another PC if you use your Yubikey on multiple machines or if you need to restore your configuration at some point.’
More info: Configuration Files | gnupg.org/
Troubleshooting
If your key is not inserted or you enter the wrong PIN, you will get an error message like the one below:
gpg: signing failed: Operation cancelled
gpg: signing failed: Operation cancelled
error: gpg failed to sign the data
fatal: failed to write commit object
If you get a message with gpg: signing failed: No secret key, you might want to check the path where gpg4win has been installed and update the git global configuration with the correct path for the gpg.program:
git config --global gpg.program "c:/Program Files (x86)/GnuPG/bin/gpg.exe"
Rerefences and links
I would like to thank the following blog posts and references to figure this all out:
- Signing GitHub Commits With YubiKey | den.dev
- SSH Authentication to GitHub Using a YubiKey on Windows | Yubico.com
- Setting your commit email address | GitHub.com
- About commit signature verification | GitHub.com
- gpg4win
- YubiKey-Guide | drduh on GitHub
- No secret key” error when signing git commit on Windows | Stackoverflow.com